
Intro: The Future of 3D Character Creation
The barrier between a creative spark and a fully animated 3D character has officially collapsed. Gone are the weeks of manual box modeling and tedious vertex weight painting. By leveraging the Nano Banana for high-fidelity concept generation and Hyperhuman AI for rapid 3D reconstruction, creators can now move from a text prompt to a game-ready asset in record time.
The plan is that you prototype your 3D game assets with game-ready animations to validate the game mechanics before doing the hard work on ZBrush (sculpting), texturing on Substance, manual retopology, manual riggingm, and human made animations.
In this guide, we’ll walk through a modern, AI-augmented workflow. We’ll take a 2D panda concept, transform it into a clean 3D mesh, optimize its geometry with Blender Quad Remesher, and bring it to life using Animate Anything, before finally dropping it into Unity. Whether you’re an indie dev or a hobbyist, this is your blueprint for high-speed 3D production.
1. Concept Generation with Nano Banana

The foundation of any great 3D model is a clear reference. Use the Nano Banana model to generate a high-detail, orthographic (front and side view) character sheet of your panda.
- Pro-Tip: Prompt for “T-pose” or “A-pose” on humanoid characters and standing on four legs for quadruped animals with a neutral expression to make the subsequent 3D generation much smoother.
2. 3D Reconstruction via Tripo AI

Upload your Nano Banana generation to Tripo AI. This tool excels at interpreting 2D imagery into high-quality 3D volumes.
- Ensure the lighting in your reference is flat to avoid “baked-in” shadows on your 3D texture.
- Export the resulting model as an
.objor.fbx.
3. Mesh Optimization with Blender Quad Remesher
AI-generated meshes are often “dense” and triangulated, which makes them a nightmare for performance and clean animation.
- Import your Panda into Blender.
- Run the Quad Remesher add-on to convert the messy triangles into a clean, quad-based topology.
Here you have a tutorial on using Blender Quad Remesher to Retopologize (High Poly Mesh into Low Poly with an algorithm created by the creator of Remesher for ZBrush Maxime Rouca) and then project the corlor and normals.
- Target: Aim for a polycount that balances detail with performance (e.g., 5,000 to 10,000 polygons).
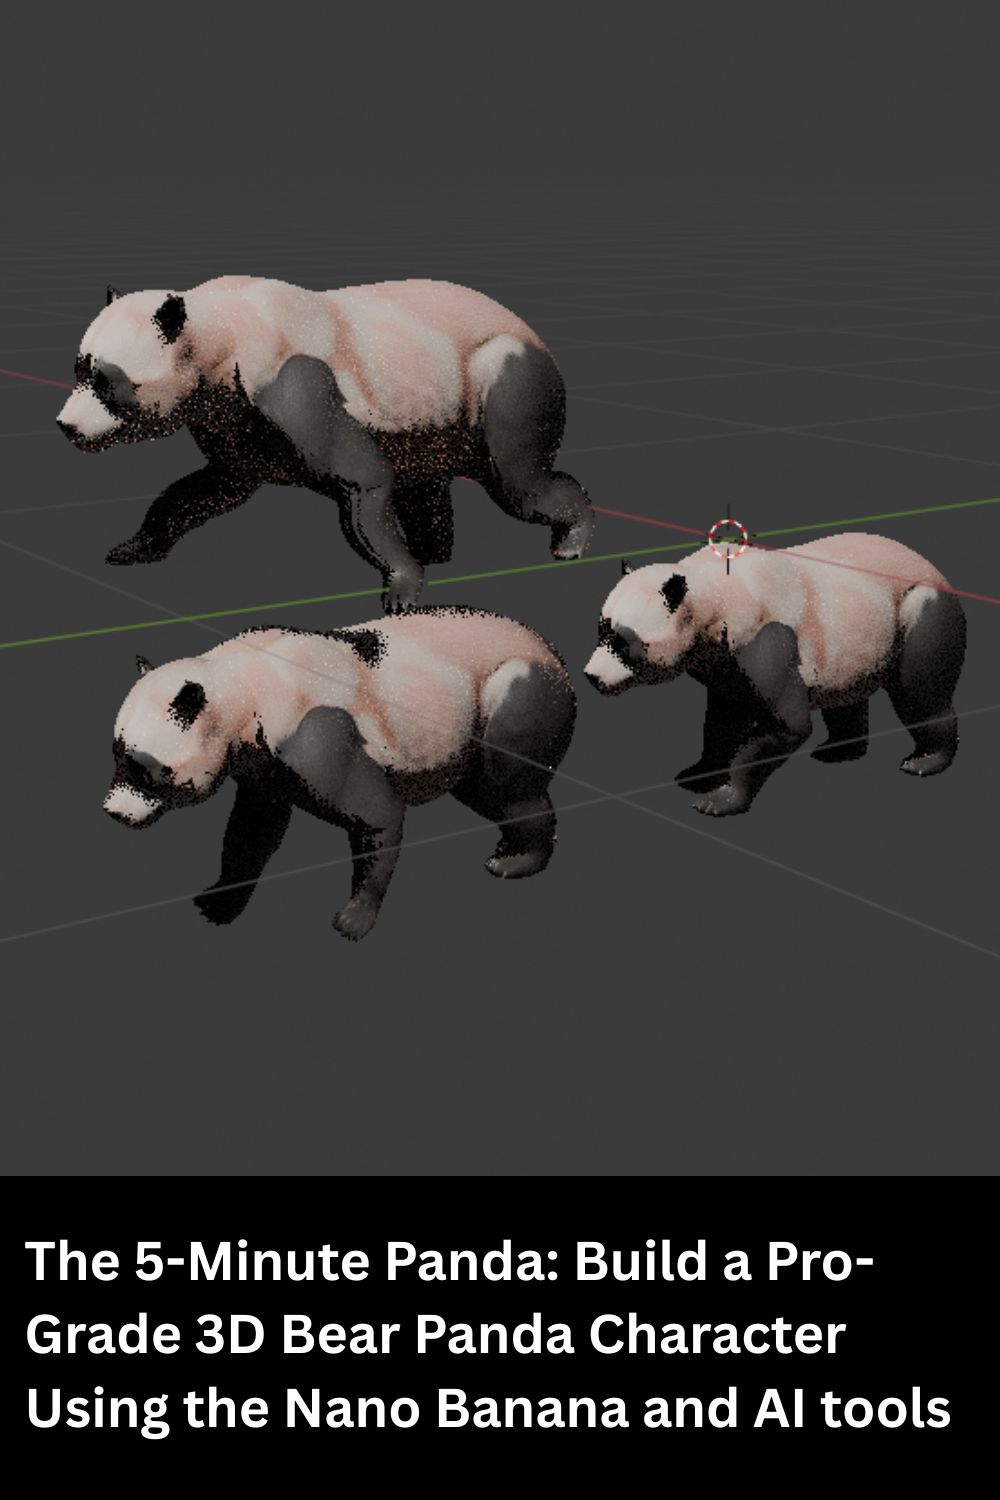
4. Rigging and Animation with “Animate Anything.”
Manual rigging (adding a skeleton) is the most common project-killer. Skip the manual work by using Animate Anything.
- Upload your clean quad mesh.


- The AI will automatically detect joints (shoulders, knees, etc.) and apply “Skin Weights.”
- Download animations (walking, running, idling) to apply to your panda instantly.
5. Final Integration: Unity Game Engine, Godot, or Unreal 5
Now, it’s time to bring your panda home. In a future tutorial, I will teach how to import the character for each game engine and use controllers to use these animations as the basics of a simple animation logic.
Comparison Table: AI Pipeline vs. Traditional Workflow
| Feature | Traditional Workflow | AI Production Pipeline |
| Time to Model | 10–20 Hours | 15–30 Minutes |
| Technical Skill | High (Sculpting/Topology) | Moderate (Tool Orchestration) |
| Rigging | Manual Weight Painting | AI-Automated |
| Iteration Speed | Slow | Instantaneous |
The purpose is not to replace human artists but to prototype with AI fast before deploying and orchestrating the final product.
Love bears? 🐻 Check out this deep dive into the Mexican Black Bear! From its diet to its secret habitats, learn how this majestic sentinel survives in Mexico’s wild. 🐾🇲🇽
👉 https://mexicorojo.com/oso-negro-mexicano-ursus-americanus-eremicus-centinela-de-las-sierras/