Rigging avian anatomy is a massive technical hurdle, especially when crossing the bridge between the organic beauty of natural sciences and the mechanical requirements of a game engine. Whether you are building an interactive forest ecosystem simulator or optimizing wildlife assets for a mobile app, choosing the right tool determines whether your bird moves naturally or crumples like paper.
Here is a comprehensive guide to the top Blender tools for rigging birds, breaking down the core facts, learning curves, and essential resources for each.

Design Principles for Avian Rigging
Before touching any software, it is vital to understand the “why” behind the mechanics. Birds are not just humans with wings; their anatomy demands specific rigging principles:
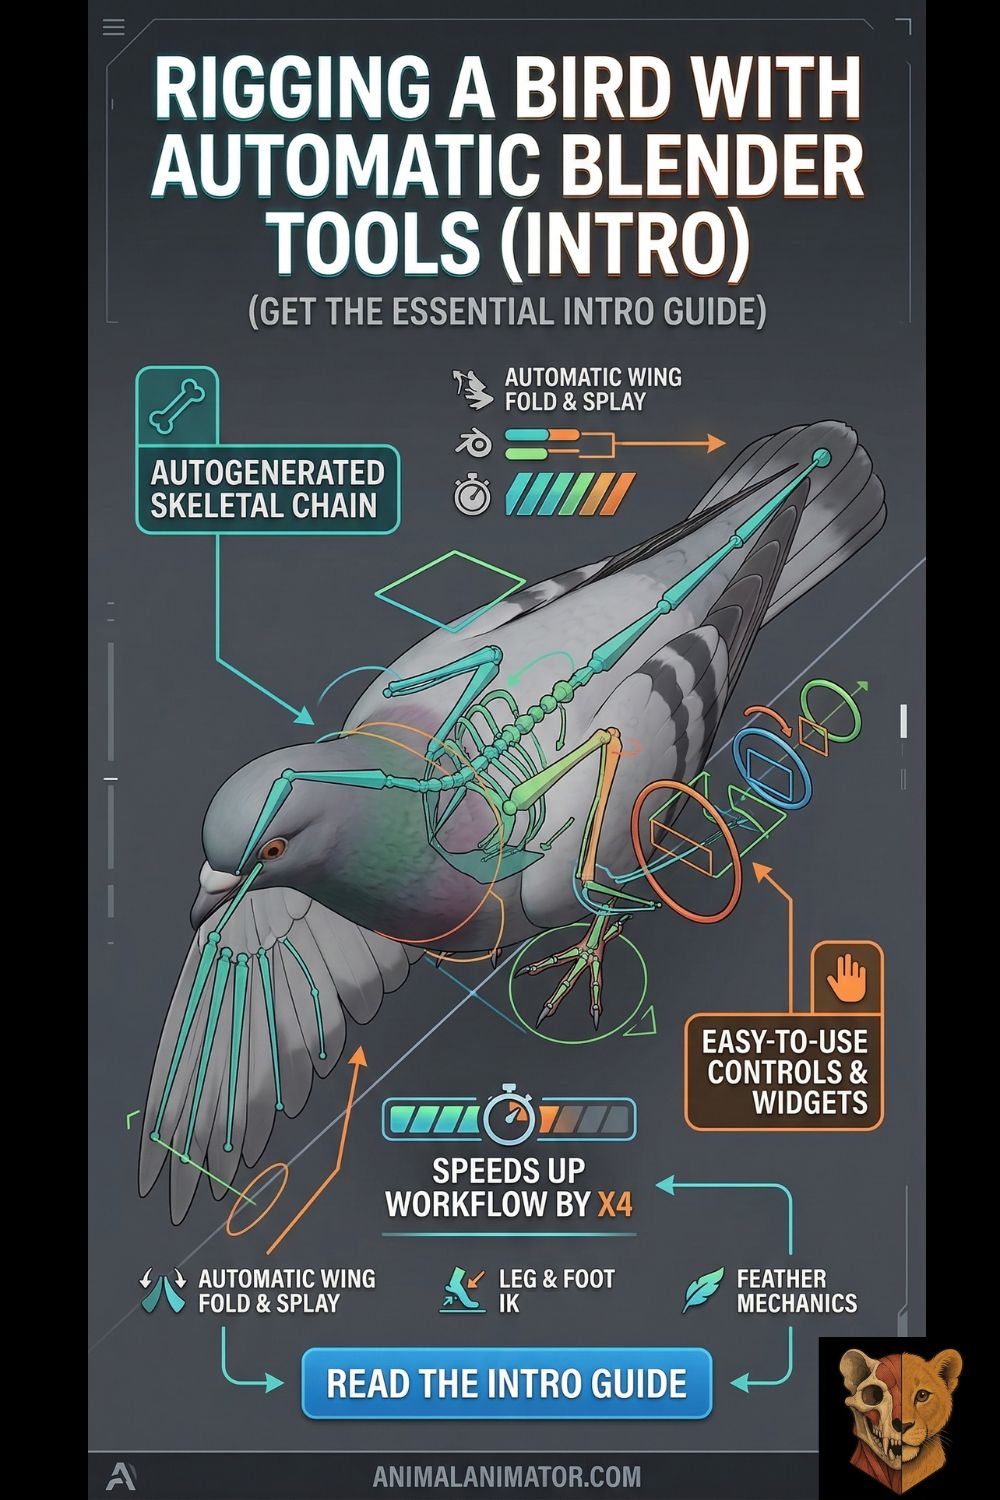
- The Wing Fold Problem: Bird wings require complex hierarchies. Primary, secondary, and tertiary feathers must overlap and slide smoothly without clipping when the wing folds against the body.
- Leg Mechanics: Birds are digitigrade. Their “knees” are actually inside their body cavity, and what looks like a backward knee is their ankle. Your IK (Inverse Kinematics) chains must reflect this Z-axis rotation.
- Rigid Spine, Flexible Neck: A bird’s torso is largely fused for flight stability, while its neck is hyper-flexible. Rigs should prioritize spline-IK setups for the neck rather than the back.
The Core Anatomy of Birds: Why Biology Dictates Your Rig
When creating animal animation, treating a bird like a human with feathers is a guaranteed way to break your mesh. Understanding avian anatomy isn’t just for biologists; it is the mechanical blueprint that determines your bone placement, IK constraints, and weight painting limits.
Here is how the physical machinery of a bird translates to 3D rigging.
A. The Mechanics of Wing Deformation
A bird’s wing is a highly modified arm, and its feathers are not randomly distributed—they are rigidly attached to specific bones. When setting up your rig, you must account for the mechanical “Z-fold” that happens when a bird tucks its wings.

- The Bones (The Levers): The wing consists of the humerus (upper arm), the radius/ulna (forearm), and the manus (a fused hand).
- The Feathers (The Deformers): * Primary Feathers: These act as the propeller, generating thrust. They are rigidly attached to the manus (hand bones). In your rig, the hand bone must have 100% weight influence over the base of these feathers.
- Secondary Feathers: These act as the airplane wing, generating lift. They are attached to the ulna (forearm).
- Tertiary Feathers: These bridge the gap between the wing and the body.
- The Rigging Challenge: As the wing folds, the wrist bends inward, and the elbow bends outward. Your rig needs automated constraints (like Action Constraints or Transformation constraints) so that as the elbow angle decreases, the secondary feathers slide smoothly under the tertiaries, and the primaries slide under the secondaries without clipping through the geometry.
B. Flight Dynamics and Types of Motion
A bird rig needs to handle drastically different states of motion. You aren’t just animating a flap; you are animating aerodynamic states. Your control curves must accommodate the following:

by L. Shyamal, CC BY-SA 2.5
- Ascending / Flapping (The Power Stroke): The wing doesn’t just go up and down. On the downstroke (power), the wing is fully extended and pushes forward and down. On the upstroke (recovery), the wing partially folds at the wrist to reduce drag. Your IK wrist controls need rapid rotational flexibility to twist the wing edge into the wind.
- Soaring / Gliding (e.g., Eagles, Hawks): The wings are held stiffly in a dihedral (V-shape) or flat position. The rig relies heavily on micro-adjustments in the primary feathers (pinions) which splay out like fingers to control steering and reduce turbulence.
- Diving / Stooping (e.g., Falcons): The bird transforms into a teardrop shape. The wings tuck tightly against the body to maximize aerodynamics. This is the ultimate stress test for your weight painting—if your shoulder and chest weights are messy, the folded mesh will look crushed.
- Hovering (e.g., Hummingbirds): The wings move in a rapid figure-eight motion. This requires a rig with hyper-flexible shoulder joints that can rotate nearly 180 degrees, generating lift on both the forward and backward strokes.
C. The Four Types of Bird Feet (Leg Mechanics)

Birds are digitigrade, meaning they walk on their toes. What looks like a bird’s “backward knee” is actually its ankle, while the true knee is hidden up inside the body’s feather mass. When building your leg IK chains, you must tailor the toe bones to one of these four biological layouts:
- Anisodactyl (The Percher): Three toes point forward, one points backward (the hallux). This is the most common foot (songbirds, eagles, pigeons). The backward toe requires a dedicated IK target to grip branches securely.
- Zygodactyl (The Climber): Two toes point forward, two point backward. Common in parrots and woodpeckers. The rig needs balanced pivot points on both sides of the foot to simulate vertical trunk climbing.
- Palmate (The Swimmer): Three toes forward, connected by webbing, with a small toe in the back. Found on ducks and gulls. Rigging note: The webbing requires delicate, gradient weight painting so it stretches like an umbrella membrane when the toes spread, rather than tearing the mesh.
- Pamprodactyl (The Hanger): All four toes can pivot to face forward. Found in swifts, who use them to hook onto vertical surfaces. This requires unlocking the rotation limits on the back toe bone so the animator can swing it 180 degrees.
D. Flying vs. Flightless Birds

by mario modesto / BIODIDAC, CC BY 2.5
Not all avian rigs are created equal. Your center of gravity (and therefore, your master root bone placement) shifts entirely depending on whether the bird takes to the air.
- Flying Birds (Carinates): These birds have a massive breastbone (keel) that anchors their pectoral flight muscles. Their center of gravity is low and directly under the wings. Their legs are relatively thin, meaning the animation focus is heavily skewed toward upper-body IK and wing mechanics.
- Flightless Birds (Ratites): Think ostriches, emus, and cassowaries. They lack a keel. Their center of gravity is positioned squarely over massive, powerful legs.
- Rigging Implications: Rigging a flightless bird is much closer to rigging a bipedal dinosaur like a velociraptor. The wings are vestigial and mostly used for balance or display, requiring far simpler mechanics. Instead, your rigging effort must be spent on the legs, ensuring proper pelvic sway, heavy ground-reaction forces, and complex toe setups for running.
1. Rigify (The Built-In Standard)

Rigify is Blender’s native rigging powerhouse. It uses pre-built “meta-rigs” (blueprints) that generate complex control interfaces with a single click.
- Core Facts: The official documentation emphasizes that Rigify relies heavily on proper bone alignment and “bone loops” (specifically for facial/fleshy areas). It generates a massive rig with IK/FK switching, but it does not automate weight painting. It includes a default Bird meta-rig.
- Difficulty: Beginner to Intermediate. Generating the rig is easy; fixing the automated weights on overlapping feathers is the hard part.
- Time to Master: 1–2 weeks of consistent practice to understand the UI, bone grouping, and layer generation.
- Top Free Course: CGDive’s “Rig Anything with Rigify” tutorial series on YouTube.
- Top Paid Course: CGDive’s Video Manual ($35+) provides a granular breakdown of every advanced feature.
2. Auto-Rig Pro (The Game-Ready Powerhouse)
Auto-Rig Pro (ARP) is the industry-standard premium add-on for Blender. While its “Smart” auto-solver is meant for bipeds, its manual limb addition and extensive export tools make it elite for creatures.
- Core Facts: ARP excels at engine integration. The documentation highlights its robust handling of “Twist Bones” (crucial for smooth wing twisting in game engines where Preserve Volume isn’t supported) and custom “Toes IK-FK” chains, which are specifically designed to handle the curved phalanges of bird feet.
- Difficulty: Intermediate. The rigging process is highly streamlined, but mastering the game engine export settings requires technical patience.
- Time to Master: 2–3 weeks. The actual rigging takes hours, but understanding how to bake actions and clean up root motion for Unity/Unreal takes time.
- Top Free Course: Artell’s (The Creator) Official YouTube Tutorials.
- Top Paid Course: Auto-Rig Pro: Complete Guide (various instructors on Udemy/Blender Market).
3. Mantis Rigging Nodes (Procedural Control)
If you have a background in mechatronics, logic systems, or visual scripting, this tool will feel like home. Mantis introduces node-based rigging to Blender, similar to Geometry Nodes.
- Core Facts: Mantis allows you to build rigs by connecting data flows rather than writing Python scripts. You can create highly specific, reusable custom components (like a mathematical node group that precisely calculates the folding ratio of a wing based on the shoulder’s rotation).
- Difficulty: Advanced. It requires a logical, programming-oriented mindset. It is not a 1-click solution; it is a system for building your own automated solutions.
- Time to Master: 2–3 months of dedicated study into vector math and node logic.
- Top Free Course: Nodespaghetti on YouTube (the creator’s channel).
- Top Paid Course: Mantis Component Pack (TreeHive) acts as a premium template library to reverse-engineer complex setups.
4. Manual Bones & Weight Painting (The Foundation)

You cannot escape this. Automated tools treat your bird mesh like a single piece of rubber. To prevent individual rigid feathers from stretching like taffy, you must manually intervene.
- Core Facts: Weight painting dictates how much influence a bone has on a vertex (0% to 100%). For feathers, you often need solid 100% influence from a single bone so the feather remains stiff and pivots at its base, rather than bending in the middle.
- Difficulty: Hard. It requires immense patience and anatomical understanding.
- Time to Master: Months to years. It is an art form of its own.
- Top Free Course: Pierrick Picaut’s (p2design) free YouTube weight painting masterclasses.
- Top Paid Course: The Art of Effective Rigging by p2design (widely considered the gold standard for manual Blender rigging).
5. Supplementary Physics: Wiggle 2 / Jiggle Physics
Birds possess high amounts of secondary motion—tail feathers bounce upon landing, and crests twitch. Hand-animating this is a massive time sink.
- Core Facts: Originally “Wiggle Bones,” the updated “Jiggle Physics” (by naelstrof/shteeve3d) uses a robust verlet physics solver to automate secondary motion. The documentation stresses that you must “bake” the jiggle simulation into actual keyframes before exporting to a game engine or rendering on a farm.
- Difficulty: Easy. Add the tag, adjust stiffness and damping, and bake.
- Time to Master: 2–3 days.
- Top Courses: No paid courses needed; the official GitHub documentation and brief YouTube overviews are fully sufficient.
6. BlenRig 6 (The Fleshy Creature Specialist)
BlenRig is incredibly powerful but highly specific. It is best used for stylized, thick-bodied birds (like penguins or cartoon owls).
- Core Facts: Instead of bones deforming the high-poly mesh directly, BlenRig uses a “Mesh Deform Cage.” The bones move a low-poly cage, which smoothly squashes and stretches the high-poly mesh inside it, preserving volume flawlessly.
- Difficulty: Advanced. The setup is highly technical and requires matching a complex cage perfectly to your mesh.
- Time to Master: 1–2 months.
- Top Free Course: JP Bouza’s official BlenRig YouTube tutorials.
- Top Paid Course: Fredegund – The BlenRig Skeleton (a premium asset that serves as the ultimate learning template).
🐾 Keep Exploring on Animal Animator
🎬 Mastering the 3D Animation Pipeline
Streamline your indie dev workflow from block-out to final engine integration.
🐙 The Ultimate Octopus Reference for Animators
Ready for a challenge? Master the complex, bone-less mechanics of animating tentacles.
Official Documentation (And Why You Must Read It)
- Rigify Manual: Read this to understand the strict naming conventions (
.L/.R) and how “bone loops” dictate the success of the auto-generated weights. - Auto-Rig Pro Docs: Absolutely essential for the “Game Engine Export” section. If you don’t read this, your rig will likely break when imported into Unity or Unreal due to scale or twist-bone errors.
- Mantis Wiki: Crucial for understanding the node math and how to properly instance multi-parent switches.
- Jiggle Physics GitHub: Explains the limitations of the verlet solver and why baking is mathematically necessary for out-of-order frame rendering.
- BlenRig 6 GitHub: Necessary for understanding the step-by-step Rigging Assistant pipeline, as skipping a step will break the deform cage.
A NEW WAY TO RIG IN BLENDER | Introducing Mantis Rigging Nodes This video provides a great visual breakdown of how node-based procedural rigging functions in Blender compared to traditional methods.