For indie developers and small game studios, resource management is everything. Unlike AAA giants with armies of specialists, smaller teams must operate with extreme efficiency. In the realm of 3D game development, this efficiency is achieved through a robust, well-defined 3D animation production pipeline.

Kenshi: Hard work creating an epic indie game, top-selling at Steam
Have 3D game-ready creatures and humanoids in record time without sacrificing quality.
A disorganized workflow leads to wasted hours, incompatible assets, and performance bottlenecks. Conversely, mastering the pipeline allows a small team to punch above its weight class, delivering high-quality visuals on tight timelines. Furthermore, for aspiring artists, understanding this entire process is the strategic key to becoming an invaluable 3D generalist—the Swiss Army knife role highly coveted in the indie sector.
This article outlines an optimized 3D production pipeline tailored for resource-constrained environments, detailing the necessary stages from concept to game-engine integration and highlighting the industry-standard tools that make it possible.
The Strategic Value of the Pipeline for 3D Generalists

Blizzard Entertainment Studios. Source: Kotaku.
In large studios, an artist might spend their entire career solely modeling vegetation or rigging characters. In an indie studio, that luxury rarely exists. Small teams need agility.
A 3D generalist is an artist capable of handling multiple stages of production. By mastering the entire pipeline—knowing how a modeling decision affects rigging, or how UV unwrapping impacts texturing—a generalist becomes a strategic asset. They can identify bottlenecks early, communicate effectively across disciplines, and take entire assets from initial sketch to final implementation without waiting on others.

3D Generalist bringing a Tyrannosaurus “to life” using a pipeline
Understanding the pipeline doesn’t just make you faster; it makes your work functionally better for real-time engines.
The Core Phases of the 3D Production Pipeline
The 3D pipeline is generally divided into three main stages: Pre-Production, Production, and Post-Production. For game development, “Post-Production” often merges with engine integration.
Phase 1: Pre-Production (The Blueprint)
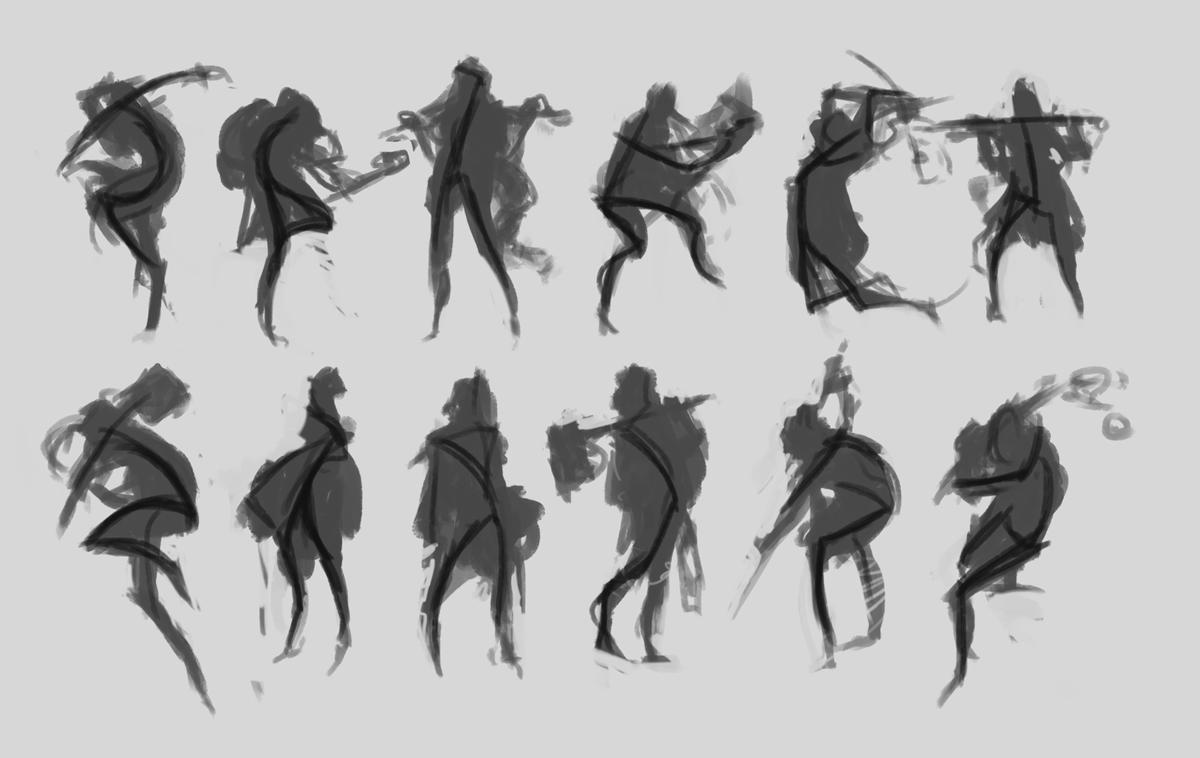
Before a single polygon is created, planning is essential. This phase defines the visual target and technical constraints. Draw, sculpt on clay, do watercolor, and study references.
- Concept Art & Design: The 2D foundation. Artists create sketches, mood boards, and orthographic “blueprints” (front, side, and back views) of characters and environments. This ensures the 3D modelers have exact references to work from, maintaining art direction consistency.
Phase 2: Production (Creation & Optimization)
This is the labor-intensive core of the workflow, transforming 2D ideas into functional 3D digital assets.
- Blocking / Low-Poly Modeling: The primary form is created. Artists build the basic shape and silhouette of the object using a low polygon count. This stage focuses on scale and proportions within the game world.
- High-Poly Sculpting: To add realism and intricate detail (skin pores, armor scratches, organic folds), the model is taken into specialized sculpting software. Here, polygon counts can reach millions, creating a “digital clay” version of the asset. This version is too heavy for a game engine but is essential for generating detailed texture maps later.
- Retopology: This is a critical optimization step. The high-poly sculpt is “traced” over with a new, clean, low-polygon mesh organized in efficient loops suitable for animation. Good retopology ensures the asset deforms correctly when moving and runs smoothly in the game engine.
- UV Unwrapping: The 3D mesh is peeled flat into a 2D space, like unwrapping a chocolate Santa foil. This creates a “UV map,” which tells the software precisely where to apply textures onto the 3D surface.
- Texturing & Baking:
- Baking: Information from the high-poly sculpt (details, crevices) is “baked” onto the low-poly mesh using special texture maps (Normal maps, Ambient Occlusion). This makes the low-poly in-game model look highly detailed without the performance cost.
- Texturing: Colors, materials (metal, wood, skin), roughness, and metallic properties are painted onto the model using Physically Based Rendering (PBR) workflows.
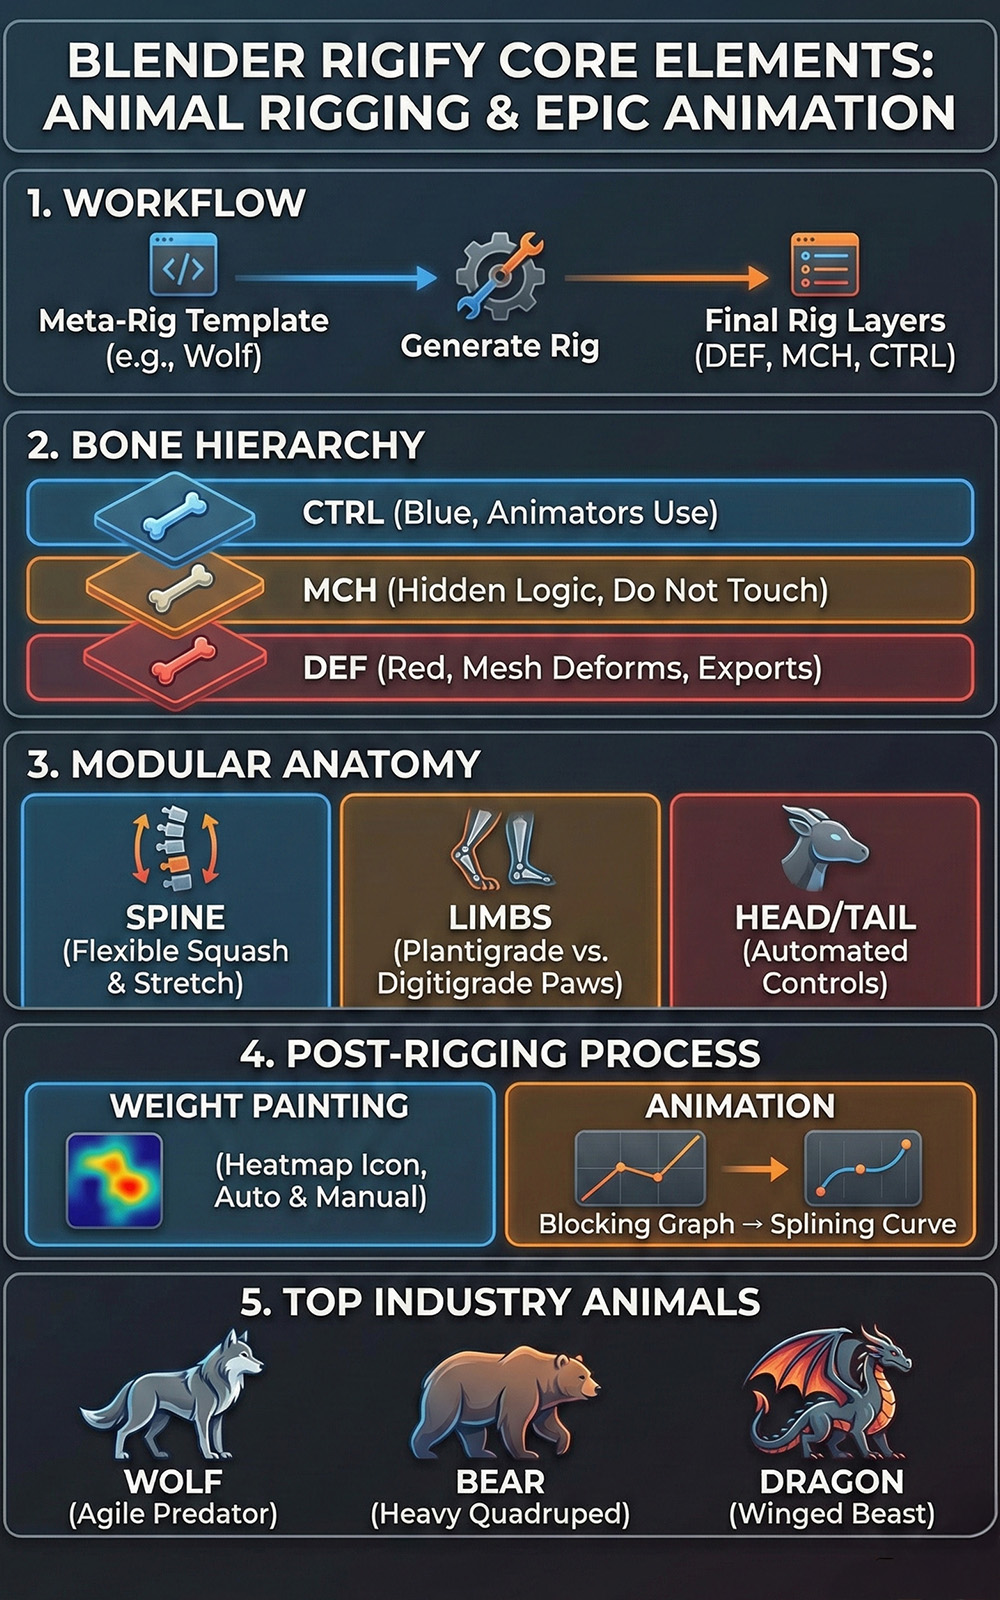
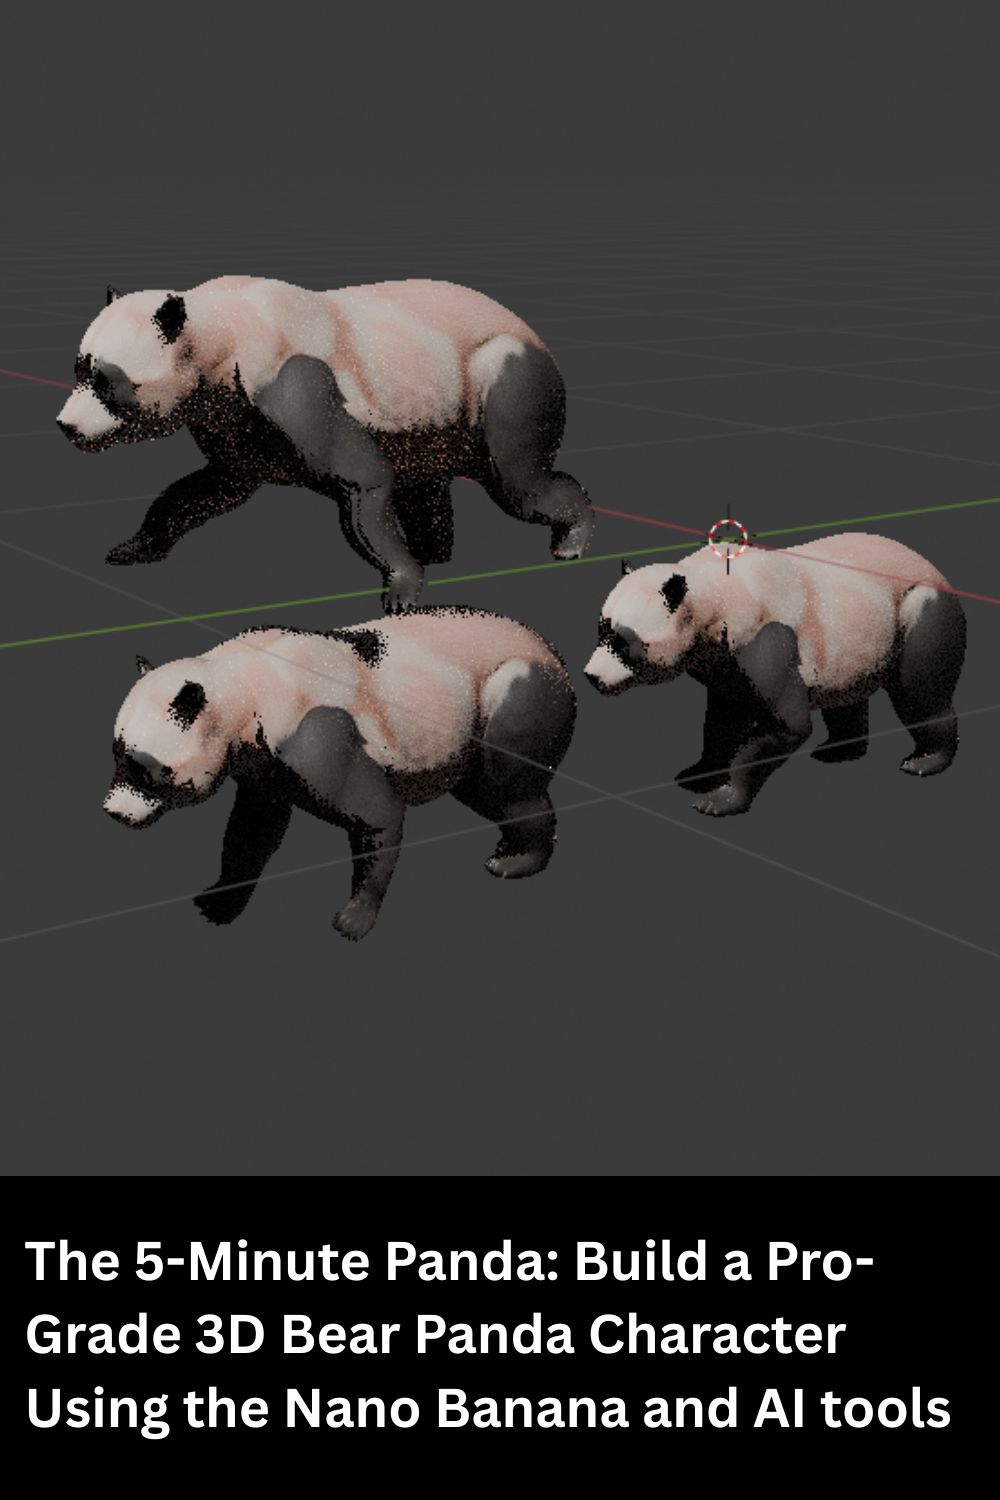
- Rigging & Skinning (For animated assets): A virtual skeleton (rig) is built inside the character. “Skinning” is the process of binding the 3D mesh to this skeleton so that when a bone moves, the surrounding mesh follows naturally.
- Animation: Bringing the asset to life. Animators manipulate the rig to create movements, cycles (walking, running), and attacks, often referencing real-world physics.
Phase 3: Post-Production & Integration
- Engine Integration: The finished model, rig, animations, and textures are imported into a game engine (like Unity or Unreal Engine). Materials are reassembled in the engine’s shader system.
- Lighting & Polish: The asset is placed in the game environment, lit, and tested for gameplay functionality and visual coherence.

Rigging Maya. –Introduction to Rigging for Animation
Essential Industry-Standard Tools for Indies
While the concepts remain the same, the tools define the workflow. For indie devs, the balance between cost, power, and industry standardization is crucial.
1. Blender (The Indie Powerhouse)
- Role: The ultimate generalist tool. Modeling, Sculpting, Retopology, UVs, Rigging, Animation, Rendering.
- Why it matters for Indies: Blender has revolutionized the indie scene. It is free, open-source, and features a rapidly developing toolset that rivals expensive competitors. For many small studios, the entire pipeline runs solely through Blender due to its zero-cost barrier and massive community support system (Blender Foundation, n.d.).
2. Autodesk Maya (The Industry Animation Standard)
- Role: High-end Animation and Rigging dominance; strong modeling capabilities.
- Why it matters for Indies: Maya remains the gold standard in major film and AAA game studios, particularly for character animation. While expensive, knowing Maya makes an artist highly employable. For indies employing experienced animators, Maya is often the required tool for complex character work due to its robust animation toolset (Autodesk, 2023).
3. ZBrush (Maxon) (The Digital Clay Champion)
- Role: High-poly organic sculpting.
- Why it matters for Indies: When creating characters, monsters, or highly detailed organic environments, ZBrush is unparalleled. It handles millions of polygons with ease, allowing artists to sculpt without technical constraints. It is practically mandatory for creating the high-poly source meshes used for baking details onto game assets.
4. Adobe Substance 3D Painter (The Texturing Standard)
- Role: 3D Painting and PBR Texturing.
- Why it matters for Indies: Substance Painter has become the undisputed industry standard for texturing game assets. It allows artists to paint materials directly onto the 3D model in real-time, using a layer-based workflow similar to Photoshop. It automates much of the PBR workflow, ensuring assets look consistent across different lighting environments.
5. Topogun (The Retopology Specialist)
- Role: Dedicated Retopology and map baking.
- Why it matters for Indies: While Blender and Maya have built-in retopology tools, Topogun is a standalone application designed only for this purpose. For studios churning out many characters that require complex retopology, Topogun’s specialized toolset can significantly speed up this tedious workflow stage.

Retopology- TopoGun
Conclusion
For indie developers and small studios, a well-oiled 3D animation production pipeline is not a luxury—it is a survival mechanism. By understanding the journey from 2D concept to game-ready asset, and strategically utilizing powerful tools like Blender, ZBrush, and Substance Painter, small teams can maximize their limited resources. Furthermore, artists who master this end-to-end process position themselves as indispensable 3D generalists, ready to tackle the diverse challenges of independent game development.
References
- Autodesk. (2023). Maya Documentation: Animation workflow overview. Retrieved from [Autodesk Official Documentation Website – placeholder URL]
- Blender Foundation. (n.d.). About Blender: Introduction. Retrieved January 11, 2024, from https://www.blender.org/about/
- Pardew, L. (2005). Beginning Illustration and Storyboarding for Games. Premier Press. (Provides foundational context on pre-production pipelines).